
Dixon loading arms are used to aid in the transfer of liquids and dry bulk materials. You will see loading arms at railcar and tank truck terminals, refineries and chemical plants, and food and beverage plants. They are even used to assist in the filling of drums and totes. In applications like these, loading arms can be a preferred transfer option to a standard hose assembly.
Let us review a few examples of why:
Safety: Hose assemblies are often left lying on the loading platform or on the ground, which creates a potential tripping hazard for workers.
Health and Wellness: A loading arm is more ergonomic and easier to move around than a hose. Depending on the length, a 4” hose assembly can weigh more than 100 pounds, which when lifted and pulled can easily lead to back pain or injury.
Efficiency: Loading arms last longer and require less maintenance and inspection than hose assemblies. Some inspection and regular maintenance is necessary, as we will see below, but it is much less than a standard hose assembly.
Ease of Use: With counterbalances to maintain loading height and a “jump on” style of connection, transfers are made faster and easier – improving operational efficiency.
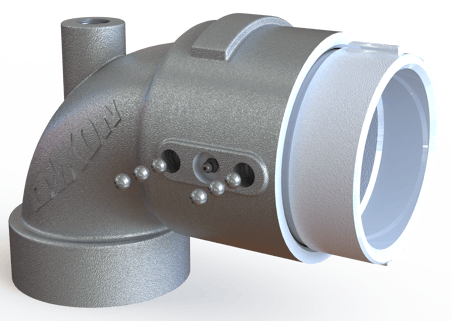
Dixon swivel joints are used in the fabrication of our loading arms, and they are the critical component that requires regular inspection. Occasionally, seal replacement in the swivels is necessary to prevent the arm from leaking. Following are guidelines for replacing both the O-ring and V-ring swivel seals in your Dixon loading arm.
Note: Instructions are not for assembly with a spring-loaded PTFE pressure seal, consult Dixon for details on this seal. Body and sleeve components are matched during manufacturing. Do not mix components with other units.
Replacing O-ring Swivel Joint Seals
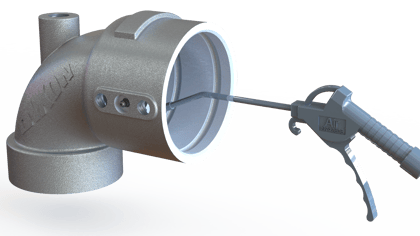
1. Remove the ball retainer screws. Add enough solvent into each raceway to flush out the lubricant. Rotate the sleeve, catching the balls as they fall out. When all the balls have been removed, the body and sleeve can be separated. Discard old seals and thoroughly clean the body and sleeve.
2. Install the new O-rings on the sleeve with the dust seal to the rear and the product (pressure) seal up front.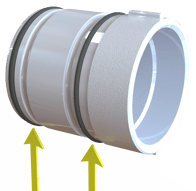
3. Lubricate the body and the sleeve with grease.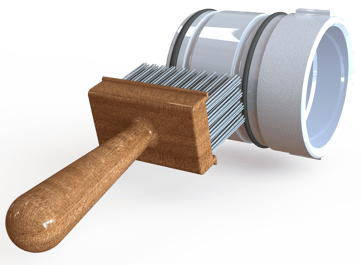
4. Insert the sleeve into the body, slowly rotating the sleeve while inserting it into the body.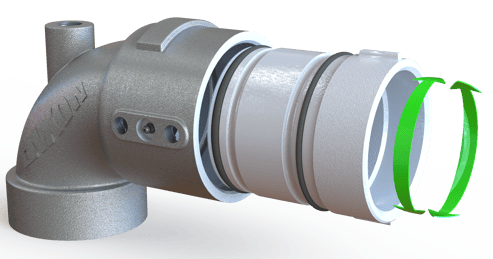
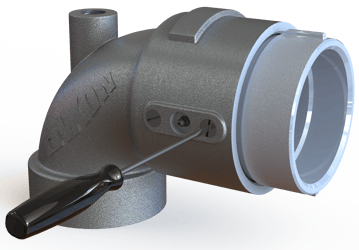
5. When the sleeve is fully inserted, feed the ball bearings into the raceways, while rotating the sleeve. To make space for all the balls, insert a screwdriver into the raceway while continuing to rotate the sleeve in one direction being careful not to damage the threads. This will cause the balls to jam up, making room for the remaining balls. Now reverse the rotation of the sleeve and insert the remaining balls.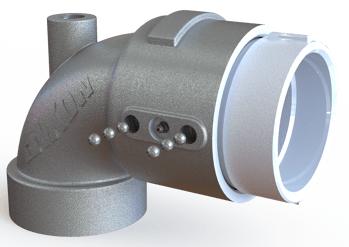
6. Reinstall the ball retainer screws until tight. If this interferes with the smooth rotation of the ball bearings, then back off a ⅛ to ¼ turn. A thread-locking sealant is recommended to prevent screws from backing off. After pressure testing, the unit is ready for installation.
Replacing V-ring Swivel Seals
1. Remove the ball retainer screws. Add enough solvent into each raceway to flush out the lubricant. Rotate the sleeve, catching the balls as they fall out. When all the balls have been removed, the body and sleeve can be separated. Discard old seals and thoroughly clean the body, sleeve retainer, spring retainer, and springs. Note: The last coil of the springs has been upset (O.D. slightly larger). When the upset end is inserted into the holes provided in the spring retainer, the springs will remain secure.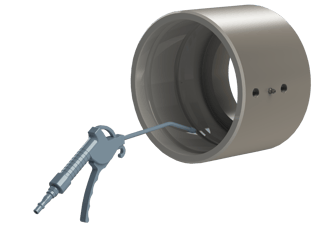
2. Lubricate the body unit with a Moly lubricant or the equivalent.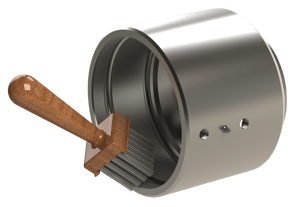
3. Place the assembled spring retainer unit (spring end first) into the body. Place the set of V-rings onto the spring retainer. Be sure the V-rings are installed with the sealing lips facing toward the retainer. Lubricate the body and seals with a Moly lubricant or the equivalent.
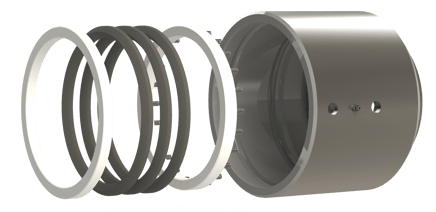
4. Set the dust seal into the O-ring groove on the sleeve. Place the seal retainer on the sleeve with the grooved end facing the V- rings. Lubricate the sleeve with grease.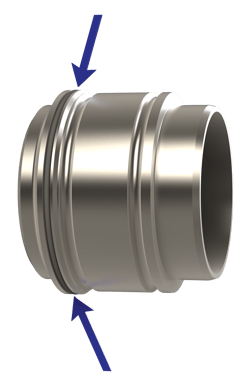
5. Insert the sleeve into the body, compressing the swivel joint together until the ball races of the body and sleeve are in alignment (do not rotate either unit while compressing). Care should be taken to avoid pinching or scoring of the V-rings. Drop balls into the raceway holes, rotating the sleeve slowly as you load. To make space for all the balls, insert a screwdriver into the raceway while continuing to rotate the sleeve in one direction being careful not to damage the threads. This will cause the balls to jam up, making room for the remaining balls. Now reverse the rotation of the sleeve and insert the remaining balls.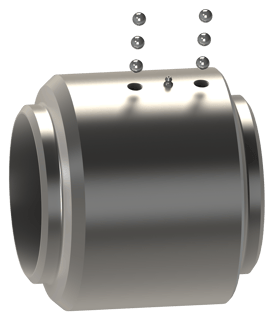
6. Reinstall the ball retainer screws until tight. If this interferes with the smooth rotation of the ball bearings, then back off a ⅛ to ¼ turn. A thread-locking sealant is recommended to prevent screws from backing off. After pressure testing, the unit is ready for installation.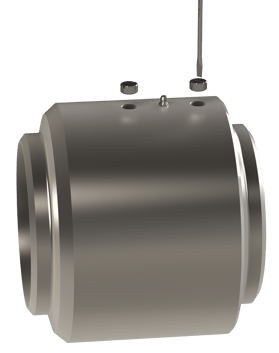
Here at Dixon, our customer's safety and well-being are one of our top priorities. We hope this step-by-step guide provided direction on how to safely replace O-ring and V-ring swivel seals for the protection of yourself and your workforce. If you enjoyed this blog post, please share it with your friends and colleagues!
For more information about the installation or maintenance of your Dixon loading arm, talk to a Product Specialist at 888.226.4673 or send an email.
Find the complete Loading Arm manual and many more product resources in our Knowledge Center.